

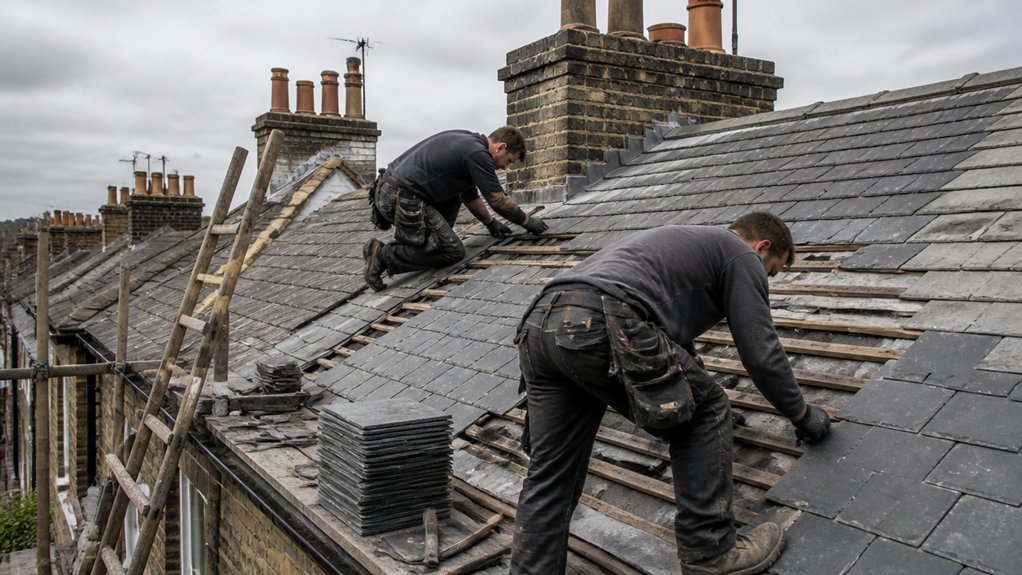
If you find three slipped slates and damp staining around a chimney on a 19th-century terrace, don’t assume replacing only those slates will solve the problem. You’ll need to confirm whether the slate has failed, match suitable replacements, arrange safe access, and inspect the battens, timbers, and underlay beneath it. Proper fixing and final leak checks matter just as much—especially when hidden damage may not appear until the first heavy rain.
Check Whether the Slate Really Needs Replacing
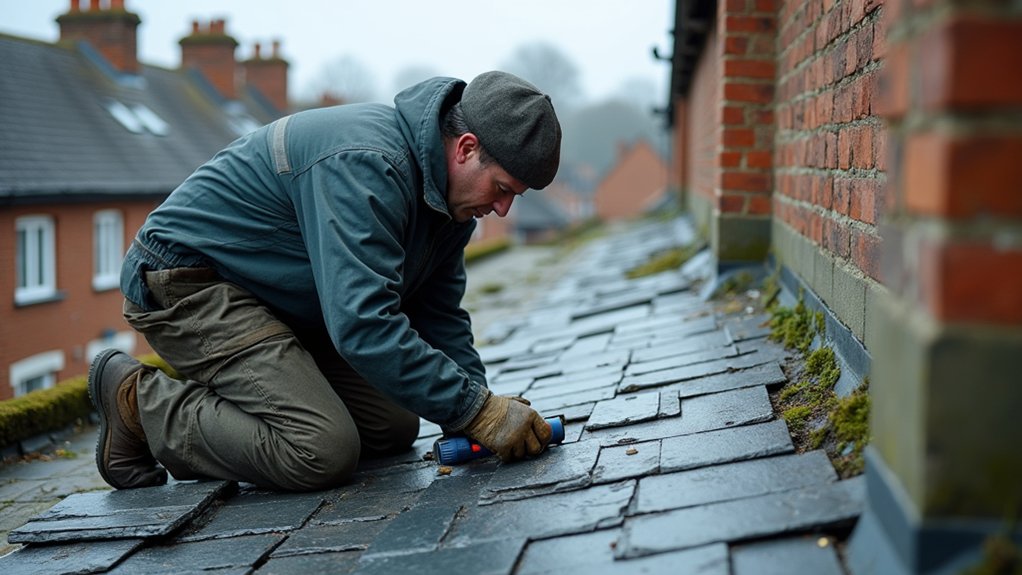
Before replacing an older roof, establish whether the slate itself has failed or whether isolated defects are causing the problems. From ground level, look for slipped, cracked, delaminated, or excessively thin slates. Then inspect the roof space for daylight, damp timbers, and active leaks.
A qualified roofer should examine fixings, battens, flashings, valleys, and underlay, because water entry may originate from surrounding details rather than widespread slate deterioration. Test suspect slates carefully; friable surfaces, flaking layers, and repeated nail-line failures indicate progressive failure.
Record damaged areas and assess the roof’s age, construction, and repair history before choosing wholesale replacement. You’ll often preserve sound coverings through selective repair, supporting material conservation and historical accuracy.
Don’t disturb intact slates merely to achieve a uniform appearance or simplify installation.
Match Replacement Slate to the Existing Roof
You’ll need to identify the existing slate type before ordering replacements, as natural, fibre-cement and composite slates aren’t interchangeable.
Compare colour and texture, then check each slate’s size and thickness against the roof covering.
This guarantees the new slates integrate correctly and maintain the roof’s appearance and performance.
Identify Slate Type
Start by identifying whether the existing roof uses natural slate, fibre-cement slate, or another manufactured product, because each type requires compatible replacements and fixing methods.
Examine exposed edges, broken pieces, and the underside where accessible. Natural slate splits into thin, durable layers and may show distinct cleavage; fibre-cement products usually have a uniform, manufactured core and consistent thickness.
Don’t rely solely on appearance: confirm the slate mineral composition, density, and water absorption through a supplier, laboratory, or experienced roofer when necessary.
Check historic documents, renovation records, and local building knowledge to establish historical slate sourcing, which can reveal the original quarry and specification.
Confirm whether the slates are nailed, hook-fixed, or mechanically clipped, then select replacements with matching dimensions, thickness, hole position, and fixing compatibility.
Never mix incompatible materials without professional assessment.
Compare Colour and Texture
Compare replacement slates beside the existing roof in natural daylight, evaluating their base colour, tonal variation, surface texture, edge character, and weathering rather than relying on a catalogue sample.
Effective Colour matching requires more than choosing “grey” or “blue”; compare warm and cool undertones, mineral streaks, fading, and areas darkened by moss or moisture.
For accurate Texture comparison, examine cleft faces, grain direction, ridges, pits, and natural irregularity. Handle several samples, as one slate may not represent a batch.
View them from ground level and from an upper window, because light and distance alter perceived contrast.
Don’t match a clean new sample against a dirty roof without allowing for careful cleaning or comparing an undisturbed area.
Record the closest option, but accept slight variation where age and quarry differences make an exact match impossible.
Check Size and Thickness
Once colour and texture are reasonably aligned, measure the existing slates to confirm their length, width, and thickness before ordering replacements. Take measurements from several sound slates, as older roofs may contain varied sizes from previous repairs.
Record the exposed length, overall width, and thickness at the thickest point, then compare these figures with supplier specifications.
Match the replacement slate’s thickness closely. A thinner slate may flex, fracture, or sit below adjoining courses, while an overly thick slate can distort the roof line and complicate fixing.
Check the hole position and gauge as well, because these determine lap, nail placement, and alignment. Correct sizing supports slate durability and preserves weather resistance by maintaining consistent overlaps.
If dimensions vary substantially, ask a roofer to identify the original roofing standard before ordering a full batch.
Set Up Safe Access Before Removing Slate
Before removing any slate, inspect access equipment for damage, instability, and correct load ratings.
Secure scaffolding and ladders on firm, level bases, and check that guardrails, toe boards, and ladder ties are properly fitted.
Don’t begin work until the access system is stable and provides safe movement around the roof.
Inspect Access Equipment
Inspect every ladder, scaffold, roof ladder, and working platform for damage, secure footing, correct positioning, and suitable load capacity before removing any slate.
Check timber, aluminium, joints, rungs, guardrails, toe boards, and platform surfaces for cracks, distortion, corrosion, loose fasteners, or contamination.
Confirm that each item suits the roof’s pitch, height, and expected loads, including your tools and replacement materials.
Examine access equipment manufacturer labels and inspection records; don’t use equipment with missing information or an expired inspection.
Test roof ladders and platforms for secure hooks, locking devices, and intact restraints without altering their design.
Select safety harnesses approved for the planned work and inspect webbing, stitching, connectors, and energy absorbers for cuts, wear, or deployment.
Remove defective equipment from service, label it clearly, and arrange competent inspection or replacement before work begins.
Secure Scaffold and Ladders
Set up the scaffold and ladders on firm, level ground before removing any slate, and secure every component against movement. Check the scaffold stability, including base plates, sole boards, ties, guardrails, toe boards, and platform loading limits.
Erect it to the manufacturer’s instructions, and don’t alter or remove any brace, tie, or guardrail without competent approval.
Provide a fully boarded working platform wide enough to handle slates and tools, while keeping materials away from edges.
For ladder safety, inspect stiles, rungs, feet, and locking devices before use. Secure each ladder at its top and bottom, maintain a safe angle, and extend it above the landing for a firm handhold.
Keep ladders clear of scaffold openings, electrical lines, and vehicle routes.
Stop work during high winds, rain, ice, or poor visibility.
Inspect and Repair Battens, Timbers, and Underlay
With the slates removed, check the roof structure for cracked or undersized battens, rot in the rafters or trusses, and torn or perished underlay.
During your battens inspection, test suspect battens with a screwdriver, check their spacing, and confirm they remain firmly nailed to sound timber. Replace damaged or inadequate battens with treated, correctly sized material, maintaining the original gauge where it suits the replacement slate.
For timber repair, cut out localised decay and splice in matching structural timber with approved fixings. If rot extends into rafters, trusses, wall plates, or bearings, stop and obtain an experienced roofer or structural engineer’s assessment.
Remove loose underlay, then patch limited damage with compatible breathable membrane and suitable tape. Replace extensively deteriorated sections, preserving laps, drape, and ventilation paths.
Keep the roof weatherproof until slate installation begins.
Install and Secure the Replacement Slate
Begin at the eaves and lay the replacement slates to the established bond, keeping each course aligned with the roof’s gauge and maintaining the specified side and head laps.
Work upward, selecting slates of consistent thickness and trimming them neatly around abutments, verges, and penetrations.
Fix each slate with the correct copper or stainless-steel nails, driving them firmly without over-tightening, which can crack the slate.
Use slate hooks where the existing detailing or conservation requirements call for them, positioning hooks to provide secure support without exposing unnecessary metal.
Wear suitable Protective gear, including gloves, eye protection, and non-slip footwear.
Check Weather conditions before starting; avoid wet, icy, or windy periods.
Keep replacement slates covered and distribute materials carefully to prevent overloading the roof structure while you work.
Check for Leaks and Roofing Red Flags
Once the replacement slates are secured, inspect the roof and loft for signs of water ingress. In daylight, examine the underside of the repair for damp timbers, water staining, mould, or fresh drips.
Check surrounding slates for cracks, slipped edges, loose fixings, and excessive gaps; water often travels along battens before appearing inside.
Inspect valleys, abutments, chimneys, and roof penetrations closely, looking for lifted lead, open joints, failed mortar, or other flashing issues.
From ground level, scan roof lines for dips, missing slates, and uneven courses.
After heavy rain, recheck the loft and attic insulation, where moisture can remain hidden.
Investigate storm damage promptly, especially after high winds or falling branches.
If you find persistent dampness, structural decay, or widespread defects, stop patching and arrange a qualified roofer’s inspection.
Conclusion
Replacing slate on an older British home isn’t simply a matter of filling gaps. You’ll need to diagnose the underlying cause, match materials precisely, work safely, and verify every fixing and junction. A single overlooked defect can allow water to travel unseen beneath sound-looking slates, causing far greater damage later. Once you’ve completed the final inspection, don’t assume the job is finished: monitor the roof after heavy rain. Its next warning may appear where you least expect it.