

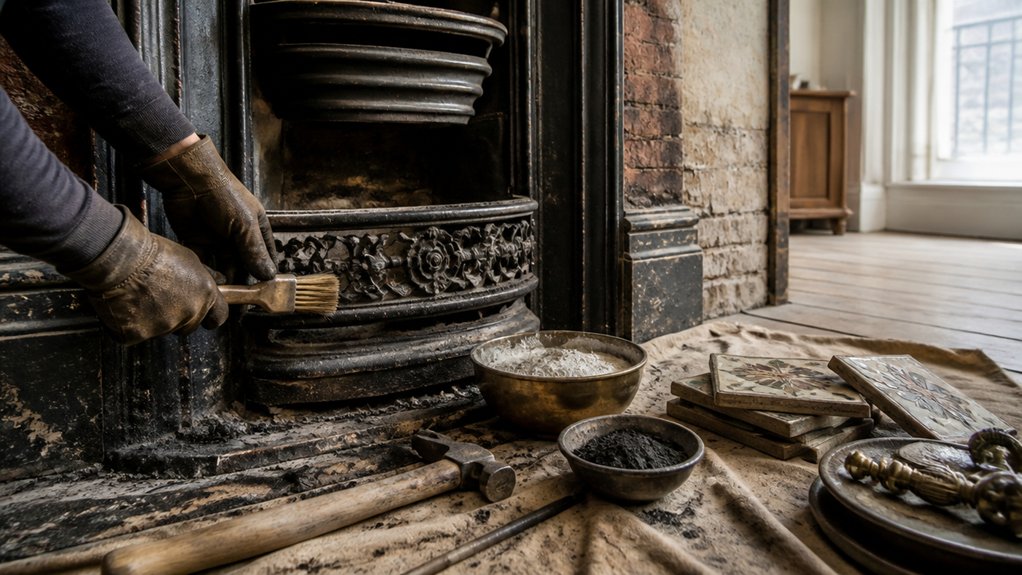
Around 80% of British homes were built before 1990, so an antique fireplace may conceal ageing flues, unsafe liners, or non-compliant alterations. You’ll need to inspect the chimney, hearth, firebox, and surrounding structure before planning any work, while checking conservation-area and Building Regulations requirements. Clean each material cautiously, repair it with compatible heat-resistant products, and arrange proper ventilation and smoke testing. The most serious risks often remain hidden until the final stage.
Plan Your Antique Fireplace Restoration Safely
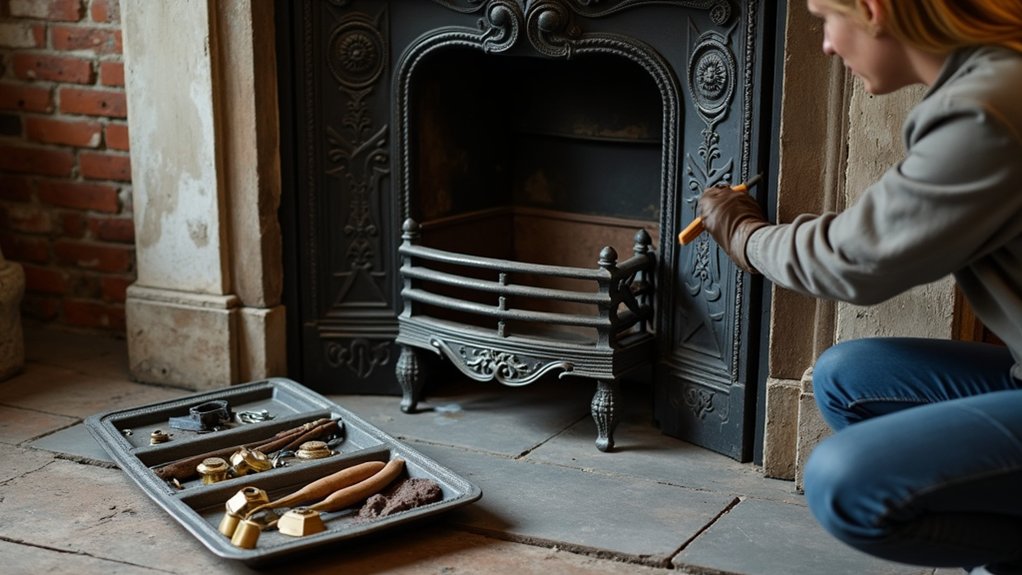
Before work begins, have a qualified professional inspect the fireplace, chimney, flue, hearth, and surrounding structure for fire, carbon-monoxide, and structural risks. Ask for a written condition report, photographs, and recommendations that follow UK Building Regulations, local authority requirements, and conservation-area controls.
If your property is listed, contact the local planning authority before altering fabric, fittings, or ventilation routes; listed-building consent may be mandatory.
Confirm that any proposed appliance, liner, hearth, or structural repair meets current safety standards, and appoint competent, appropriately insured contractors.
Define the scope before dismantling anything, recording dimensions, construction details, finishes, and existing defects.
Set objectives for Historical accuracy and Material preservation, prioritising reversible repairs.
Secure the work area, isolate services, control dust, and maintain temporary ventilation.
Obtain permissions, agree specifications, and document every decision. Check out Nostalgia where you can buy Victorian fireplaces at affordable prices.
Clean Antique Fireplace Materials Without Damage
Once the fireplace has been inspected and the work area secured, identify each material—such as cast iron, brick, stone, tile, timber, or plaster—before cleaning, because each requires a different method.
Wear suitable gloves, eye protection, and respiratory protection, and provide ventilation without spreading dust through the house.
Vacuum loose debris with a soft brush attachment; don’t use wire brushes, abrasive pads, or power tools on historic surfaces.
Test every cleaner on an inconspicuous area, recording results before proceeding.
Use pH-neutral solutions sparingly on sound masonry, and remove residue with minimal water.
Treat Antique wood with a dry cloth or conservation-approved product, never soaking joints or veneers.
Protect delicate finishes, original paint, and surviving soot layers from solvents.
Follow COSHH requirements, manufacturer instructions, and local conservation guidance.
Stop immediately if friable plaster, flaking coatings, or staining worsens.
Repair the Firebox, Grate, Tiles and Surround
After cleaning, repair the firebox, grate, tiles, and surround only after confirming that each component is stable and suitable for its intended use.
Replace damaged firebricks with compatible, non-combustible units, maintaining correct dimensions and joints for firebrick preservation.
Don’t use ordinary cement, plaster, or unapproved coatings inside the firebox; select products rated for high temperatures and follow the manufacturer’s instructions.
Check the grate for distortion, secure its supports, and replace unsafe metalwork.
Refix loose tiles with appropriate heat-resistant adhesive, matching historic materials where possible.
Repair cracked masonry with compatible mortar, but don’t conceal structural movement.
Keep combustible materials clear of the opening and protect the decorative mantel from heat transfer.
If repairs affect construction, consult Building Regulations guidance and use a competent specialist for listed properties.
Test the Chimney and Safely Relight the Fire
Have a qualified chimney professional inspect and sweep the flue before you relight the fire, checking for blockages, soundness, adequate ventilation, and safe termination above the roof. This chimney inspection should include a smoke test, appropriate to the appliance and flue, to identify leakage into rooms, lofts, or neighbouring properties.
Ask for written confirmation of defects, remedial work, and compliance with current Building Regulations and manufacturer instructions.
Before lighting, confirm that the hearth, register plate, liner, damper, and carbon-monoxide alarm are correctly installed. Keep combustible furnishings clear, open the damper fully, and ventilate the room.
Build a small kindling fire, then increase fuel gradually while watching for smoke spillage, unusual odours, or cracking. Stop immediately if problems occur.
Your fire safety routine should include annual sweeping, regular alarm tests, and never leaving the fire unattended.
Conclusion
By inspecting first, cleaning gently, and repairing with compatible, heat-resistant materials, you’ll protect your antique fireplace and your home. Don’t skip chimney sweeping, smoke testing, carbon-monoxide protection, or Building Regulations checks; safety must come before appearance. Have a qualified professional verify ventilation, flue integrity, and appliance suitability before relighting. As the adage says, “an ounce of prevention is worth a pound of cure.” Preserve the craftsmanship, but only after every test confirms safe operation.