

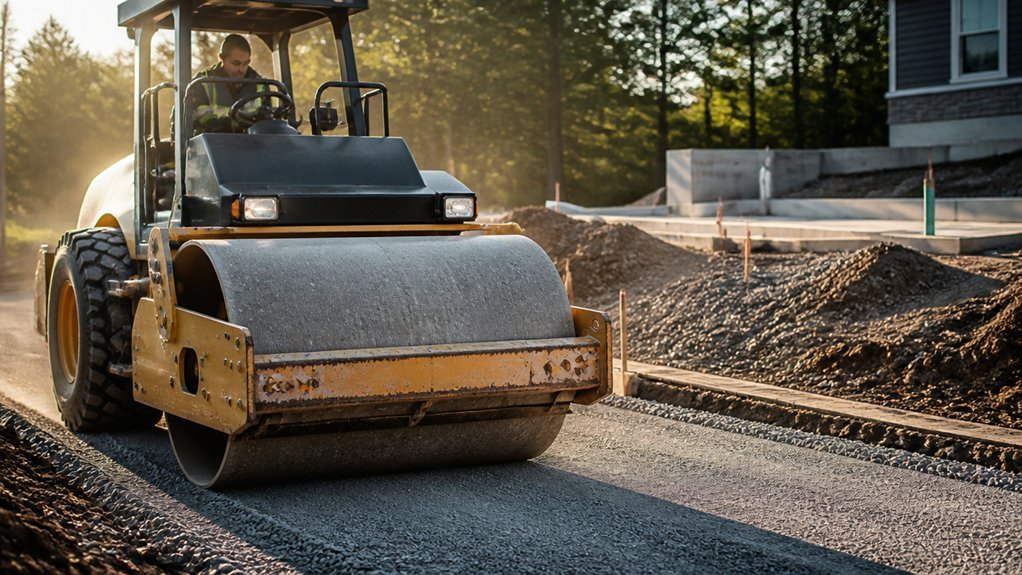
A stable driveway or foundation base doesn’t happen by chance; it comes from managing soil and aggregate properly. You’ll need to prepare the formation, choose a roller suited to the material, and compact each layer with controlled passes. Proper vibration and weight reduce air voids, improve bearing capacity, and limit settlement. Before paving or pouring concrete, you’ll also need to verify the finished base—and that’s where small weaknesses can become costly.
Prepare the Driveway Base Before Rolling
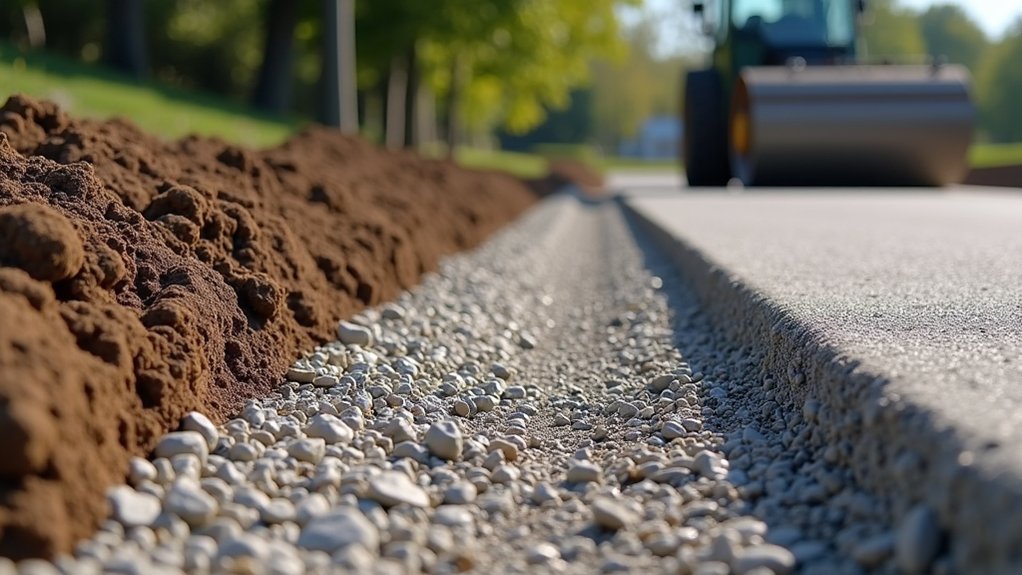
Before rolling, excavate the driveway area to the required depth and remove all organic material, loose soil, and debris.
Check the exposed formation for soft spots, then proof-roll it with suitable site equipment to identify areas requiring replacement.
Complete thorough surface preparation by trimming high points and filling depressions with approved granular material.
Spread the sub-base in uniform layers, typically no thicker than 150 mm, and grade each layer to the specified falls.
Apply moisture control before compaction: the material should feel slightly damp, not wet or dusty.
Add water evenly where necessary, or allow excess moisture to drain before continuing.
Keep the area free from contamination and prevent trafficking that could rut the formation.
Confirm levels, thickness, and drainage arrangements before compacting the prepared base.
Choose a Roller for Base Compaction
Once the prepared base has the correct moisture content and levels, select a roller that matches the material, layer thickness, and access conditions.
For granular sub-base, choose a smooth-drum roller to deliver uniform pressure and a finished surface. A vibratory roller suits thicker or densely graded aggregate, as vibration helps rearrange particles and reduce air voids.
Use a padfoot roller for cohesive clay, whose projecting feet knead the soil rather than merely pressing it. In restricted driveways or around foundations, a tandem roller or pedestrian roller offers better manoeuvrability than larger plant.
Check the manufacturer’s operating weight, drum width, vibration settings, and working clearance before hiring. These roller types support effective compaction techniques, but match the machine to the layer’s specification and the formation’s bearing capacity.
Avoid oversized equipment that could damage edges or buried services.
Compact Each Layer With Controlled Passes
Spread the sub-base in uniform layers within the specified thickness, then make controlled, overlapping roller passes at a steady speed. Keep the roller travelling straight, and avoid sudden braking or tight turns that could shove aggregate into ridges.
Work from the edges towards the centre on crowned surfaces, or from the lower side upwards on slopes, maintaining consistent coverage. Adjust vibration, amplitude, and speed to suit the material; excessive vibration can segregate aggregate, while insufficient energy leaves weak zones.
Overlap each pass sufficiently to prevent untreated strips, and stagger joints between successive layers. Moisture should support bonding without making the layer plastic or pumping under the drum.
Apply these compaction techniques methodically to improve soil stabilization, protect the formation, and create a uniform platform for the next construction stage.
Test the Base Before Paving or Pouring
After the final roller passes, verify that the compacted base can support paving or concrete without deforming.
Begin surface testing by checking levels, camber, and drainage falls with a straightedge and laser level.
Walk the area and inspect for rutting, pumping, cracking, or loose patches; these indicate uneven moisture or insufficient compaction.
Use a calibrated plate-bearing test or nuclear density gauge where the specification requires measurable results.
Compare readings with the project’s target density and bearing capacity, rather than relying solely on appearance.
Carry out material analysis if the base behaves inconsistently: laboratory testing can identify excessive fines, poor grading, or unsuitable moisture content.
Correct weak areas by scarifying, adjusting moisture, adding approved aggregate, and recompacting.
Don’t pave or pour until the surface remains firm under construction traffic and meets the engineer’s acceptance criteria.
Conclusion
A properly compacted base gives driveways and foundations the strength to perform for years. Prepare the ground carefully, select a roller suited to the material, and compact each layer with controlled, overlapping passes. Don’t rush the process or rely on appearance alone: test density and level before paving or pouring. When you follow these steps, you’ll build on solid ground rather than shifting sands, reducing settlement, weak spots, and costly repairs while creating a dependable, durable foundation.