

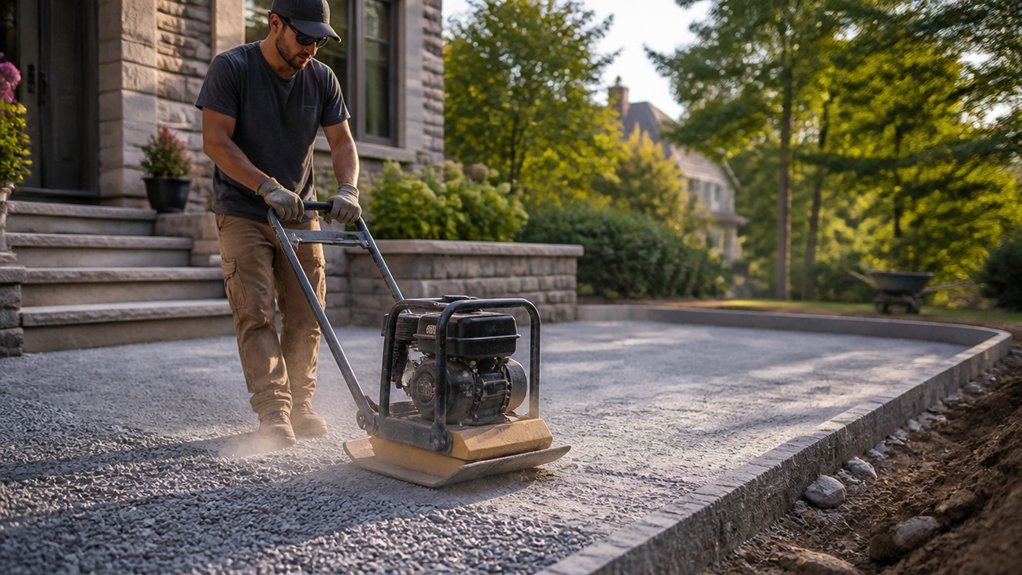
When you build a patio or driveway, you need a dense, stable base before laying paving materials. A compaction plate removes air pockets and locks soil and aggregate together, helping prevent settlement, cracks and ruts through the UK’s changing weather. You’ll get better results by choosing the correct plate, working in thin layers and making even passes. However, poor preparation or uneven compaction can undermine the entire surface, so the next steps matter.
How Compaction Creates a Stable Base
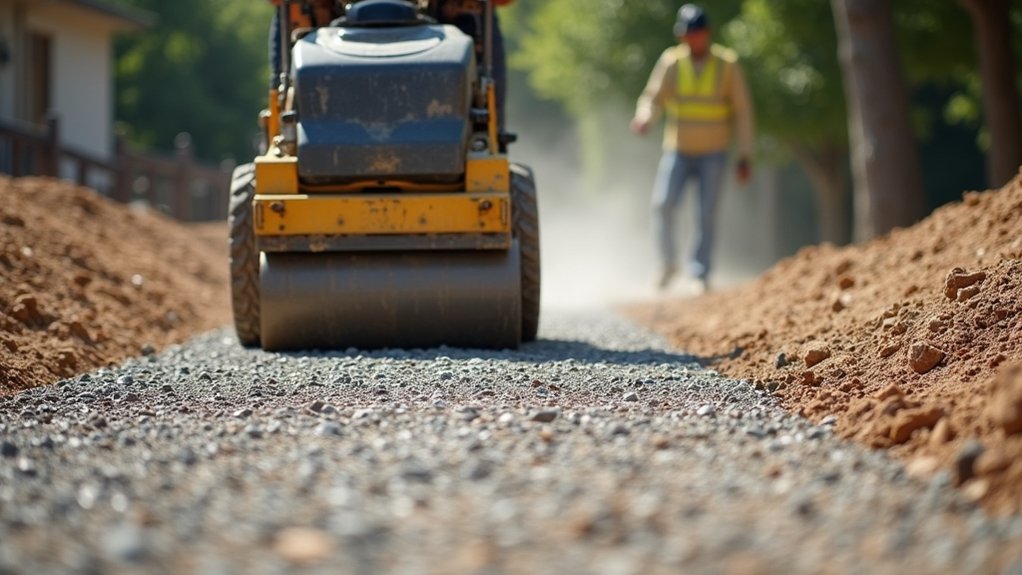
Compaction forces air out of the sub-base and interlocks the aggregate particles, creating a dense, load-bearing layer beneath your patio or driveway.
As you compact each layer, you reduce voids and limit future settlement caused by traffic, rainfall, and freeze-thaw cycles. This process improves soil stability by distributing loads across the prepared area rather than allowing pressure to concentrate beneath individual paving units.
A well-compacted MOT Type 1 or suitable granular sub-base also improves foundation strength, helping your surface resist rutting, rocking slabs, and cracking.
Work to the specified layer thickness, usually in manageable lifts, and check that the material has suitable moisture for effective compaction.
You should compact systematically across the full area, including edges, while protecting nearby structures and services.
The finished base must feel firm, even, and uniform.
Choose the Right Compaction Plate
Selecting the right compaction plate depends on the material, area and depth of your patio or driveway base.
For Type 1 MOT, crushed stone and gravel, choose a vibrating plate with sufficient centrifugal force and a suitable operating weight. A standard forward plate suits smaller areas and granular sub-bases, while a reversible model improves control and productivity on larger driveways.
Check the manufacturer’s specification for compaction force, plate size and recommended layer thickness, but don’t prepare or compact materials here.
Material selection also affects the plate: use a protective polyurethane mat when compacting block paving to reduce scuffing and chipping.
Consider access, gradients and available power before hiring.
Good Equipment maintenance matters too; inspect the plate, exciter housing, belts and engine, and follow servicing intervals.
Confirm your chosen machine meets UK hire and safety requirements.
Prepare Soil and Gravel in Thin Layers
Once you’ve chosen the plate, prepare the soil or gravel base in even layers before switching on the machine.
Begin with soil testing to identify clay, silt, drainage issues and any weak areas. Remove organic material, roots and soft spots, then trim the formation to the required level.
For a patio or driveway, place suitable MOT Type 1 or another specified sub-base material, checking local project requirements.
Your Gravel selection should match the intended loading and drainage needs; use clean, well-graded aggregate rather than rounded decorative stone.
Spread each layer uniformly, keeping it within the plate manufacturer’s recommended depth, typically 50–100 mm loose.
Lightly dampen dusty material, but don’t saturate it.
Check levels and thickness with a straightedge and tape measure before preparing the next layer.
Use a Compaction Plate for Even Passes
With the base layer prepared, start the plate compactor at one edge and guide it forward in straight, overlapping passes. Keep both hands on the handle and walk at a steady pace, allowing the machine’s vibration to do the work.
Overlap each pass by roughly one-third of the plate width, so you cover the full working area without gaps. Set the Vibration frequency according to the aggregate and your machine’s instructions; higher settings suit granular MOT Type 1, while lower settings may suit finer material.
Check the Plate size against the path width and available clearance, particularly beside kerbs, walls, or drainage channels. Make the required number of passes in one direction, then repeat across the area at right angles.
Maintain controlled movement and follow the manufacturer’s operating guidance.
Prevent Uneven Compaction and Cracks
To prevent uneven compaction and cracks, keep the plate compactor moving at a steady pace and don’t stop over one spot, as prolonged vibration can displace aggregate or create a hollow. Check soil moisture before compacting; slightly damp Type 1 MOT binds effectively, while saturated or dry material won’t compact reliably.
Spread each sub-base layer evenly, keeping lifts within the manufacturer’s recommended depth. Make overlapping passes in a consistent pattern, then change direction to close missed areas without overworking the surface.
Near edges, use controlled movements and avoid striking kerbs or retaining structures. Inspect the finished layer for soft patches and rutting before laying bedding material.
Follow equipment maintenance schedules, checking the plate, isolators, fasteners, and engine. Replace worn components promptly, because vibration faults can produce uneven pressure and premature cracking.
Conclusion
When you build a patio or driveway, the finish is only as reliable as what lies beneath it. Compact the prepared soil and aggregate in thin layers, choosing a plate suited to the material and making even, overlapping passes. Don’t rush this stage: hidden voids can become settlement, cracks, and costly repairs after the first wet winter. Get the foundation right now, and your paving will remain stable, level, and dependable for years across the UK.