

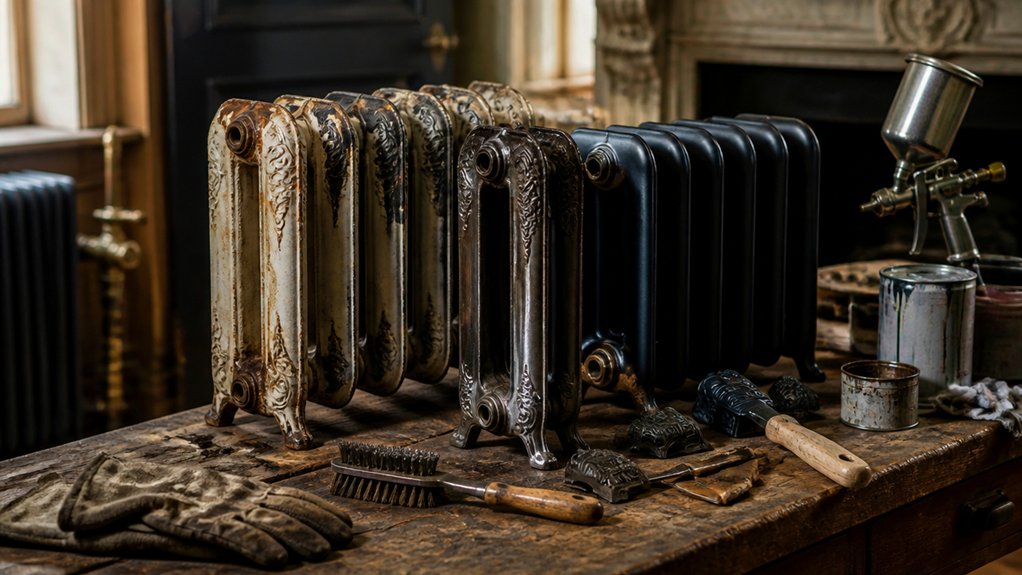
Restoring a cast-iron radiator is like bringing a silent engine back to life, but careless preparation can expose hidden leaks, damaged threads, or hazardous coatings. During your property overhaul, inspect the unit, drain and support it safely, then remove peeling paint, rust, and grime without damaging the casting. You’ll also need compatible repairs, heat-resistant primer and paint, and thorough testing after reinstallation—because the final checks can reveal problems that preparation alone won’t.
Check Your Radiator for Leaks and Damage
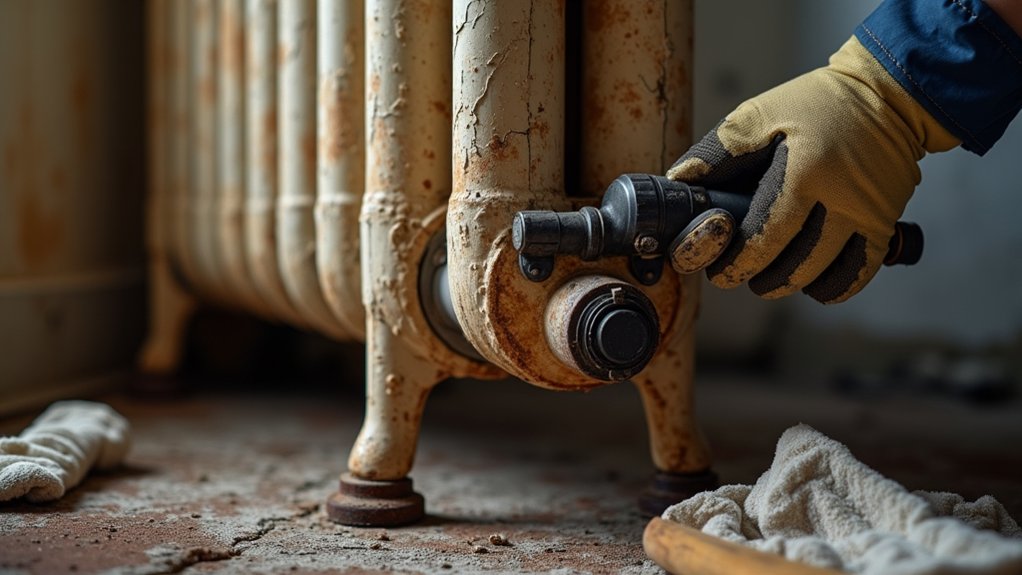
Before restoring a cast-iron radiator, inspect it for leaks, cracks, corrosion, and other damage. Begin your leak detection at every valve connection, nipple joint, plug, and visible seam. Look for rust trails, mineral deposits, damp spots, or blistered paint, which can indicate a slow leak.
Use a flashlight and mirror to examine hidden surfaces without disturbing the unit. For thorough damage assessment, check each section for bulging, deep pitting, hairline fractures, and missing metal.
Tap questionable areas lightly with a small tool; a dull change in tone may signal internal corrosion, but don’t strike forcefully. Don’t operate a damaged radiator or disturb pressurized fittings.
If you suspect asbestos-containing paint or insulation, stop work and arrange professional testing. Photograph findings and record their locations before planning repairs or replacement.
Drain, Move, and Prepare the Radiator
Shut off the supply, let the radiator cool, and drain it into a suitable container while protecting nearby flooring.
Use proper lifting equipment and assistance to move the radiator without straining connections or damaging floors.
Prepare a stable, protected work surface before cleaning, stripping, or repairing the unit.
Drain the Radiator Safely
Drain the radiator only after the boiler has been turned off, the system is completely cool, and electrical power to the heating equipment is disconnected.
Put on safety gear, including gloves, eye protection, and non-slip footwear.
Confirm the radiator’s valves and pipe connections before you begin; don’t loosen fittings that could release pressurized water or steam.
Place a shallow pan beneath the drain valve, then keep towels nearby for spills.
Use suitable drainage tools, such as a valve key, adjustable wrench, hose, and bucket.
Open the drain valve slowly, directing water into the container or an approved floor drain.
Crack the radiator’s air vent to let water flow steadily, but close it if water sprays unexpectedly.
Allow the radiator to empty completely, and never force a seized valve.
If connections leak, stop and call a heating professional.
Move and Prepare Surfaces
Once the radiator is fully drained and cool, disconnect it only after confirming that no water or steam pressure remains. Close valves, cap open connections, and photograph pipe locations before loosening fittings. Use a pipe wrench carefully, supporting connected piping to prevent damage.
Cast iron is extremely heavy, so don’t move the radiator alone. Recruit help, use a rated appliance dolly, secure the radiator upright, and protect floors with plywood. Remove grilles, valves, and loose covers, labeling every part for reassembly.
Begin surface cleaning outdoors or in a well-ventilated area. Scrape peeling paint with a stiff scraper, then brush or vacuum away dust, rust flakes, and debris.
Don’t sand coatings that may contain lead; test suspect paint and follow local containment rules. Degrease with a suitable cleaner, rinse sparingly, and dry the casting completely.
Your paint preparation must leave a clean, stable, lightly abraded surface before priming.
Strip Paint, Rust, and Built-Up Grime
Before you strip a cast-iron radiator, disconnect it from the heat source, let it cool completely, and move it to a well-ventilated work area. Wear gloves, eye protection, and a properly rated respirator.
Test existing coatings for lead before starting paint removal; if lead is present, follow local regulations and avoid dry sanding.
Apply a compatible chemical stripper, keeping it off nearby surfaces, or use a needle scaler and wire brushes for stubborn layers.
Scrape softened paint into a sealed container, then vacuum dust with a HEPA-rated machine.
Remove surface rust mechanically, and wipe away residue with an appropriate solvent.
Don’t use open flames or aggressive blasting that can damage thin edges.
Dry the metal immediately, then apply a suitable primer for rust prevention, following its recoat window and disposal instructions.
Repair Sections, Threads, Valves, and Fittings
Before making repairs, shut off and drain the heating system. Then inspect each section for cracks, leaks, and unsafe damage.
Repair or replace damaged sections, restore stripped threads and connections, and use compatible seals without forcing fittings.
Replace faulty valves and fittings with correctly rated parts, and test every joint for leaks before returning the radiator to service.
Repairing Damaged Sections
When a cast-iron radiator has a damaged section, leaking thread, valve, or fitting, shut off and drain the system completely before attempting repairs. Isolate the radiator, let it cool, and wear gloves, eye protection, and a respirator when removing old paint.
Inspect each section for cracks, deep corrosion, bulging, or previous patching. Replace a failed section with a matching cast-iron unit rather than relying on sealants or welding, which may fail under heating cycles.
Support the radiator during disassembly and lifting; its weight can cause serious injury. Have a qualified heating professional pressure-test the repaired assembly before reconnecting it.
Preserve original sections when they remain structurally sound, supporting historic authenticity while selective replacement provides aesthetic enhancement. Don’t repaint or reinstall until every leak has been corrected and confirmed.
Restoring Threads and Connections
With damaged sections addressed, turn to the radiator’s threads and connections, where small defects can cause leaks or prevent a secure assembly. Clean each port with a wire brush, then inspect threads under bright light for cracks, flattening, corrosion, or cross-threading.
For minor damage, use the correct tap or die for Thread repair, removing only enough metal to restore the original profile. Don’t force damaged parts; excessive torque can split cast iron.
Remove oil, rust, and old compound before Connection sealing. Apply a sealant rated for hot-water heating systems, following its curing instructions, and wrap compatible thread tape only where appropriate.
Reassemble by hand first, then tighten gradually with proper wrenches. Keep the radiator isolated and depressurized, and test connections slowly for leaks before returning it to service.
Replacing Valves and Fittings
Replace valves or fittings that are cracked, heavily corroded, leaking, or no longer match the system’s connection type. Shut off the boiler, isolate the radiator, and let everything cool before draining pressure.
Support the radiator while you loosen unions; don’t twist the old threaded tapping, because cast iron can crack. Inspect exposed threads for damage, then clean them with a wire brush and remove old sealant.
Choose compatible valves, unions, nipples, and gaskets rated for your system’s temperature and pressure. Valve upgrades may improve balancing or thermostatic control, but verify flow direction and clearance.
For fitting replacements, use the correct thread standard and apply an approved pipe sealant sparingly, keeping it out of the passage. Tighten connections firmly without overtightening.
Refill slowly, check for leaks, bleed air, and test operation.
Choose Heat-Resistant Cast-Iron Radiator Paint
Choose a paint labeled specifically for radiators and rated for sustained temperatures of at least 200°F (93°C). Confirm compatibility with cast iron and your heating system’s operating temperature; ordinary wall paint can soften, discolor, or release odors when heated.
Select a low-VOC, water-based acrylic or an approved solvent-based radiator coating, following the manufacturer’s ventilation and curing requirements. Review color options carefully, because dark colors may absorb more heat while lighter shades can reveal dust and uneven coverage.
Prioritize finish durability over gloss alone: a satin or semi-gloss coating usually balances cleanability, adhesion, and resistance to chipping. Avoid thick formulations that could obscure fins, labels, threads, or valve interfaces.
Don’t paint electrical components, vents, or bleed screws. Keep the radiator unheated during application and curing, and wear gloves, eye protection, and a suitable respirator when the product label requires it.
Reassemble, Reinstall, and Test the Radiator
Once the coating has fully cured, reinstall the radiator only after inspecting every section, nipple, plug, valve, and gasket for damage or paint buildup. Replace compromised seals and clear threads without scratching the finish. Reassemble sections with the correct nipples, tightening evenly with the manufacturer’s torque guidance; don’t force misaligned joints.
With help, position the radiator on sound brackets, maintaining required wall clearance and level. Reconnect supply and return valves, using compatible thread sealant where specified, and support pipework to prevent strain.
Bleed air slowly, then open valves gradually. Check every joint for leaks as the system warms, and monitor pressure and temperature.
Don’t fit Decorative radiator covers until airflow remains unobstructed. Even Modern radiator designs require safe clearances, stable mounting, and unrestricted convection during testing.
Conclusion
Restoring cast-iron radiators can improve appearance, safety, and heat transfer, but don’t rush the process. Inspect every joint, remove contamination completely, and use only products rated for radiator temperatures. Proper support prevents crushed fingers and damaged threads during removal. Notably, cast iron can retain heat long after the boiler stops, so verify the unit is fully cool before handling or painting. Reinstall carefully, bleed trapped air, and monitor every connection for leaks through several heating cycles.