

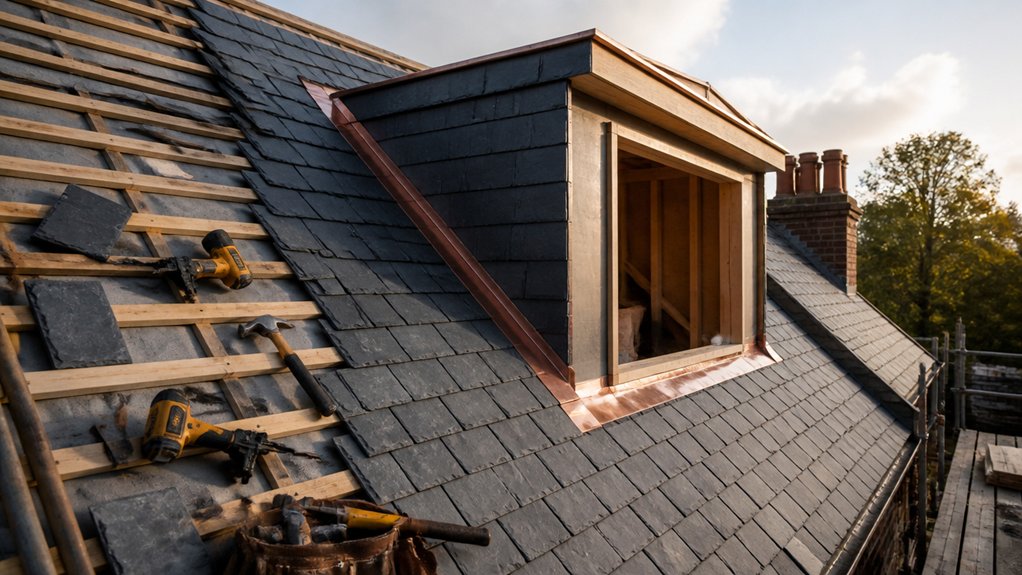
When you install new roofing slate during a loft conversion, start by confirming planning and building-control requirements, checking the roof structure, and arranging compliant scaffolding and fall protection. Measure carefully and select slate that matches the existing roof in size, thickness, and appearance. You’ll then need breathable underlay, correctly spaced battens, and properly formed flashings before fixing each slate to the manufacturer’s specification. The critical details come next, where small errors can compromise weatherproofing and compliance.
Confirm Permissions, Structure, and Safe Access
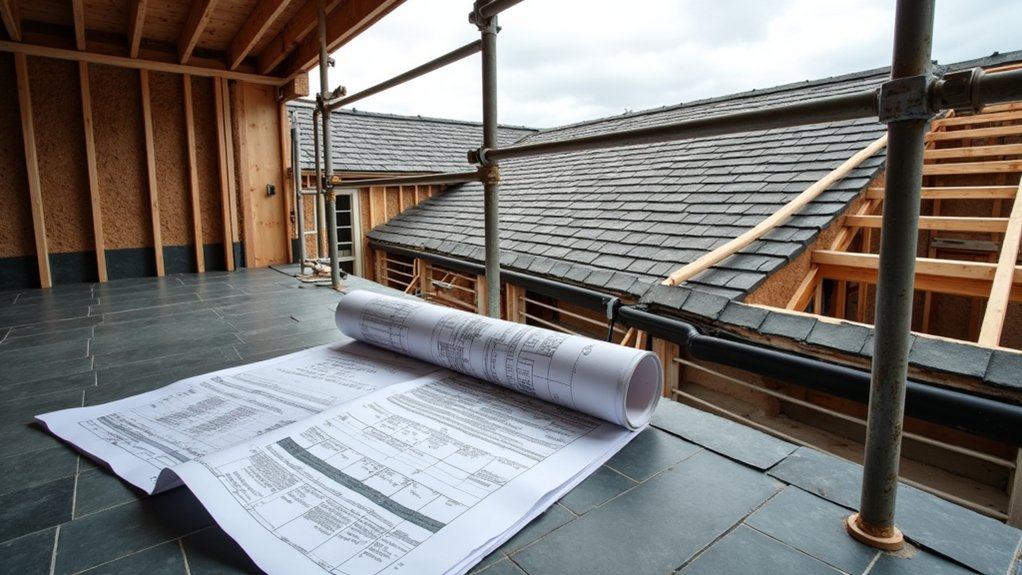
Before removing or installing any slate, confirm that your loft conversion has the required planning permission, building-regulations approval, and any conservation-area or listed-building consent.
Ask building control or a qualified roofing professional to verify the existing structure, including rafters, trusses, wall plates, and temporary works.
Don’t load the roof until you’ve confirmed it can support workers, tools, and the replacement roofing material.
Arrange secure access with compliant scaffolding, edge protection, guardrails, and properly tied ladders; never rely on loose boards or roof windows.
Wear suitable footwear, a helmet, gloves, and fall-arrest equipment where required, and establish an exclusion zone below.
Check weather considerations before starting: postpone work during rain, frost, strong winds, or poor visibility.
Keep materials secured, protect openings, and maintain clear escape routes throughout the work.
Measure the Roof and Choose Matching Slate
Accurately measure each roof plane before ordering slate, recording its length, average rafter-to-eaves width, pitch, abutments, valleys, dormers, and penetrations. Measure twice from secure access points; don’t work near edges without compliant fall protection.
Calculate the net area, then add a manufacturer-approved allowance for cutting, breakage, and future repairs. Confirm the required slate size, thickness, gauge, minimum lap, and fixing method against the roof pitch, exposure, and applicable building regulations.
Check the existing covering, if retained, for its slate color, texture, origin, dimensions, and defects. Request samples and compare them in daylight, because batches vary.
Match the slate pattern, coursing, and detailing where the extension meets the original roof.
Obtain written supplier data, warranties, and fire-performance information before ordering, and keep records for building-control inspection.
Fit Underlay, Battens, and Roof Flashings
Once the slate specification and quantities are confirmed, prepare the roof structure for a weather-tight installation. Check rafters for alignment, soundness, and correct spacing, and repair defects before covering.
Lay a breathable, non-absorbent roofing underlay over the rafters, following the manufacturer’s laps, drape, eaves support, and ventilation requirements. Don’t block ventilation paths or conceal inadequate insulation detailing.
Fix treated battens at the gauge specified for your slate size, maintaining straight, level courses and secure nail penetration into rafters. Use corrosion-resistant fixings compatible with the slate and treated timber; correct installation techniques protect Slate durability.
Form valleys, abutments, verges, and roof penetrations with appropriate lead or proprietary flashings, allowing movement and sealing junctions without trapping water.
Follow Building Regulations, manufacturer guidance, and local conservation requirements, and have critical details inspected before slating.
Install New Roofing Slate Safely
How can you install slate safely while protecting the new loft and the workers below? Plan the sequence before lifting materials.
Use compliant scaffolding, edge protection, a secured ladder, and a material hoist; don’t carry heavy stacks up a ladder.
Keep the loft floor clear, protect openings, and establish an exclusion zone beneath the work.
Wear a helmet, safety footwear, cut-resistant gloves, eye protection, and suitable fall-arrest equipment where required by your risk assessment and local regulations.
Check each slate for cracks, confirm the specified slate color, and distribute bundles evenly across designed supports to prevent overloading.
Use suitable installation tools, including a slate cutter, hammer, gauge, and nail puller, without striking slates unnecessarily.
Fix slates to the manufacturer’s pattern and nail specification, and remove waste regularly.
Never work during high winds, rain, or poor visibility.
Flash Roof Details and Check for Defects
With the slate courses secure, flash the roof junctions, penetrations, verges, valleys, and abutments to the specified details before closing the work. Follow the manufacturer’s instructions, approved drawings, and current Building Regulations.
Use compatible lead, zinc, or proprietary flashings, and form laps, drips, and welted joints that direct water onto the weathering surface. Don’t obstruct ventilation paths or rely on sealant as the primary defence.
Check that each Slate pattern remains consistent, with correctly sized slates and properly positioned fixings around openings and abutments. Apply suitable weatherproofing techniques at chimney steps, roof windows, and wall interfaces, allowing for movement.
Inspect the underlay, battens, flashings, and slates for tears, gaps, cracks, loose nails, slipped units, and exposed joints. Rectify defects immediately, then photograph and record compliance before handover.
Conclusion
Once you’ve completed the slate installation, don’t treat the job as finished until every detail has been checked. Inspect fixings, laps, flashings, penetrations, alignment, and underlay continuity with almost forensic attention. Confirm the roof is weather-tight, structurally sound, safely accessed, and compliant with local regulations and manufacturer guidance. Correct even minor defects immediately—small omissions can become catastrophic leaks. Finally, document the work and hand it over confidently, knowing your loft conversion is protected for decades.