


Choosing the wrong trencher can turn a straightforward utility installation into the longest day on site. You’ll need to match the machine to the ground, trench depth and project scope, whether you’re cutting clay, gravel or rock. Before work starts, locate and mark existing services, secure the area and plan access. Safe operation, accurate cutting and regular maintenance then keep the job compliant and productive—but the details matter most when conditions change.
Match the Trencher to the Job
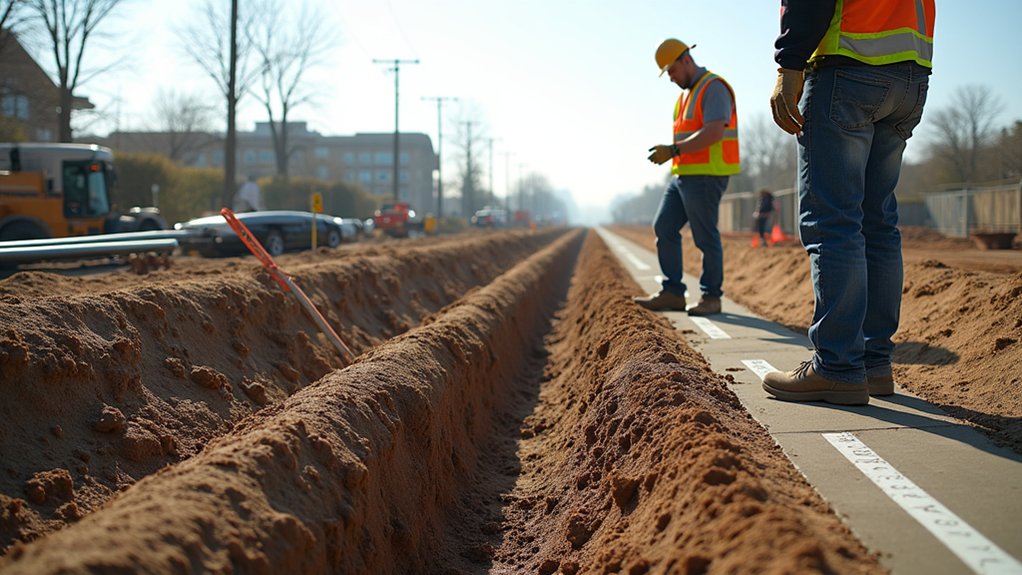
Choosing the right trencher starts with the utility specification, ground conditions and available access. Define the required trench width, depth and alignment before selecting equipment.
A walk-behind trencher suits narrow service runs and restricted gardens, while a ride-on machine improves productivity across longer, open routes.
For hard clay, compacted made ground or shallow rock, choose a chain trencher with suitable teeth; use a wheel trencher where consistent dimensions and high output matter.
Check the carrier’s ground pressure, turning radius and transport requirements, particularly on UK housing sites and verges.
Match cutting capacity to the specified depth without forcing the machine, which protects components and supports trenching safety.
Treat utility detection as a separate control before excavation; equipment selection won’t remove the risk of striking buried services or destabilising surrounding ground.
Locate Utilities and Prepare the Site
Before bringing the trencher on site, obtain current utility plans and have a competent person scan and mark the route using appropriate detection equipment. Treat records as guidance, not proof: use trial holes to positively identify services, following HSG47 and your permit-to-dig procedure.
Record findings through accurate utility mapping, including depths, offsets, and service types, then brief the operator and ground crew.
Secure the work area with barriers, signs, and controlled access, and check for overhead lines, confined spaces, unstable ground, and nearby traffic.
Arrange service isolation where necessary, confirming it before excavation.
Complete site grading to provide a stable, reasonably level working platform and planned spoil areas.
Check drainage, remove obstructions, and protect pedestrians, plant, and exposed services.
Keep drawings and markings updated as conditions change.
Choose a Trencher for Soil and Depth
With the route confirmed and the site prepared, match the trencher to the ground conditions, required trench depth and installation method.
For firm, cohesive soil, a chain trencher gives you accurate, narrow cuts and suits many cable or pipe installations.
Choose a wheel trencher for compacted ground, gravel or light rock, where its cutting teeth maintain productive output.
In softer ground, select a machine with suitable spoil clearance and flotation to reduce rutting.
Check the manufacturer’s maximum cutting depth against the utility specification, allowing for bedding and cover requirements.
For deep installations, use a larger ride-on model rather than forcing a compact machine beyond its capacity.
Adapt your trenching techniques to clay, made ground and varying strata.
Where unstable soil demands soil stabilization, coordinate the chosen attachment and backfill approach with the project design.
Plan Safe, Accurate Trenching
Mark the trench line clearly, confirm utility clearances and set-out levels, then brief the operator on the route, depth and exclusion zone. Check current utility plans, use a CAT and Genny correctly, and arrange permit-to-dig controls before breaking ground.
Follow the approved RAMS, identify ground risks, and keep pedestrians, plant and spoil away from the edge. Provide safe access, suitable barriers and a competent banksman where visibility is restricted.
Inspect the trencher, guarding, emergency stop and attachments before use; isolate it before clearing material or adjusting components.
Consider equipment ergonomics: set controls for comfortable operation, maintain a clear sightline and rotate tasks to reduce fatigue.
Monitor changing ground, weather and nearby traffic, stopping work if conditions differ from the planned controls or utility information.
Cut Clean Trenches Without Rework
Set the trencher to the specified depth so you install services accurately and avoid costly rework.
Use the correct chain or wheel for the ground conditions to minimise soil disturbance and keep trench walls stable.
You’ll achieve cleaner cuts, safer installation and less spoil to manage.
Precise Cutting Depth
Precise cutting depth keeps utility trenches compliant with design specifications and prevents costly rework. Before starting, review the utility drawing, required cover, and ground conditions, then set the trencher’s depth control accordingly.
Use the machine’s gauge or laser guidance to maintain a consistent cut, checking measurements regularly with a staff or tape. Account for slopes, crossings, and any specified bedding thickness so the finished service sits at the correct level.
Don’t rely solely on automatic controls; confirm depth manually when conditions change or the attachment encounters hard ground. Operator training helps you recognise inaccurate cutting, adjust settings safely, and maintain control around existing services.
Include depth checks in your trenching safety procedure, record results, and correct deviations before placing ducts, pipes, or cables.
Minimize Soil Disturbance
To minimise soil disturbance, use the correct trencher chain or wheel for the ground and the required trench width, then advance at a steady speed without forcing the attachment. Match your travel speed to spoil discharge, so the cut stays clean and the trench walls remain stable.
Keep the boom aligned with your set-out line and avoid unnecessary widening, particularly near roads, verges, and existing services. Remove spoil neatly and keep topsoil separate where reinstatement requirements apply.
In wet or loose ground, follow the temporary works plan and use appropriate Soil stabilization measures, such as trench boxes, shoring, or controlled backfill.
Inspect the trench continuously for collapse, water ingress, and obstructions. Accurate cutting reduces rework, material use, and Environmental impact, while helping you meet UK utility, highway, and landowner requirements.
Maintain Equipment and Reduce Downtime
You’ll reduce downtime by performing routine inspections before each shift, checking fluid levels, guards, chains, and hydraulic components.
Keep cutting teeth and blades sharp to maintain trenching performance and reduce strain on the drive system.
Replace worn parts promptly, using manufacturer-approved components to keep your trencher safe and reliable.
Perform Routine Inspections
Although trenchers are built for demanding ground conditions, routine inspections help you spot wear and faults before they cause costly downtime. Before each shift, walk around the machine and check guards, fasteners, tracks, tyres, hydraulic hoses, fluid levels and visible leaks.
Confirm that emergency stops, warning beacons and operator controls work correctly. Inspect the boom, digging chain area and spoil-clearance components for damage, but follow the manufacturer’s procedure and isolate power before reaching into any mechanism.
Check that protective equipment and signage remain secure, supporting trench safety on UK sites. Review service hours, record defects and report anything requiring qualified repair.
Keep inspection records with utility mapping and daily site documents, so you can verify ground plans and machine readiness. Don’t operate until you’ve rectified safety-critical faults.
Sharpen Cutting Components
Sharp cutting teeth and correctly tensioned digging chains help a trencher cut efficiently, reduce vibration and limit strain on the drive system. Check tooth edges before each shift, particularly after excavating stony ground or reinstated carriageways. Dull components force you to slow the machine, increase hydraulic load and produce uneven trench walls.
Follow the manufacturer’s guidance for blade sharpening, using the specified file, grinder or sharpening tool. Wear eye protection, gloves and hearing protection, and secure the component before working. Keep cutting edges consistent; uneven profiles can increase vibration and reduce cutting efficiency.
Remove soil and grit first, then sharpen only the bevel specified by the manufacturer. Check chain tension after sharpening and run the trencher briefly at low speed. Record servicing in your maintenance log, helping you plan work around inspections and minimise avoidable downtime.
Replace Worn Parts
Once cutting components are in serviceable condition, inspect the rest of the trencher for wear and replace defective parts before they cause a breakdown. Check the digging chain, sprockets, bearings, hydraulic hoses, seals, belts and guards for excessive play, cracks or leaks. Follow the manufacturer’s service intervals and use approved replacement parts; incorrect components can reduce performance and invalidate warranties.
Before work starts, isolate the engine, remove the ignition key and release hydraulic pressure. Your Safety protocols should include securing raised equipment, wearing suitable PPE and preventing unauthorised access. Record each repair and monitor recurring failures, as they may indicate misalignment or poor lubrication.
Apply environmental considerations by containing hydraulic oil, recycling worn metal and disposing of contaminated materials through an authorised UK waste contractor. Test-run the trencher before returning it to site.
Conclusion
With the right trencher, you’ll turn a marked route into a clean, reliable utility corridor. Check the ground, confirm every service, and plan each cut before the chain bites. As spoil curls from the trench and services settle safely below, disciplined operation prevents rework, damage, and delays. Inspect the machine, replace worn components, and dispose of spoil responsibly. By matching equipment to soil and depth, you’ll keep the project compliant, efficient, and ready for the next connection.