

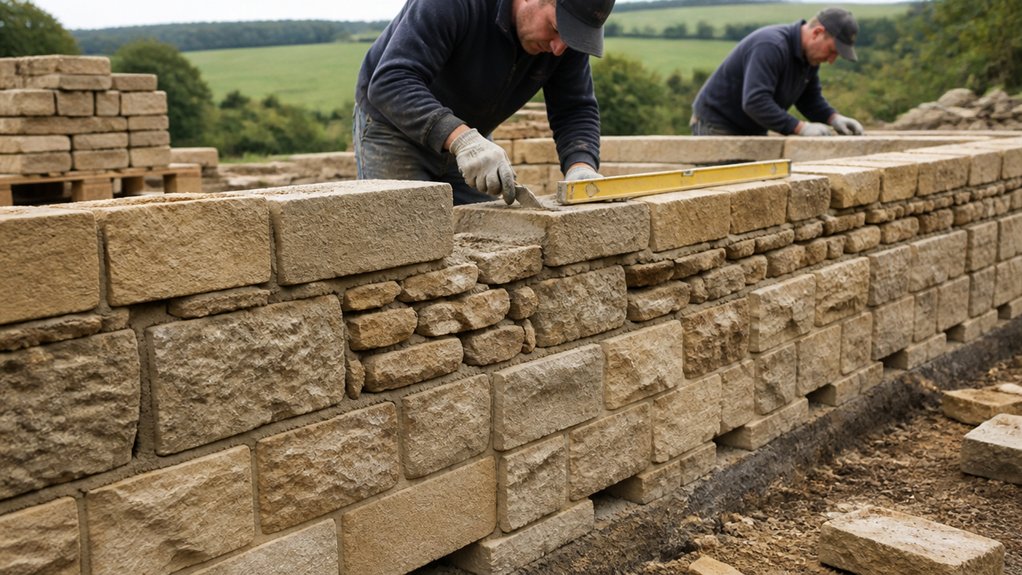
Before starting York stone walling, you’ll need to assess the stone’s durability, veining, porosity, and likely weathering. Confirm the wall’s dimensions, foundation depth, drainage, and exposure conditions before selecting suitable stone and mortar. You’ll also need to protect nearby trees, check boundary ownership, and confirm whether planning or conservation approvals apply. Small choices in preparation and stone placement can determine whether the finished wall remains stable, dry, and visually consistent for decades.
Understand York Stone’s Key Characteristics
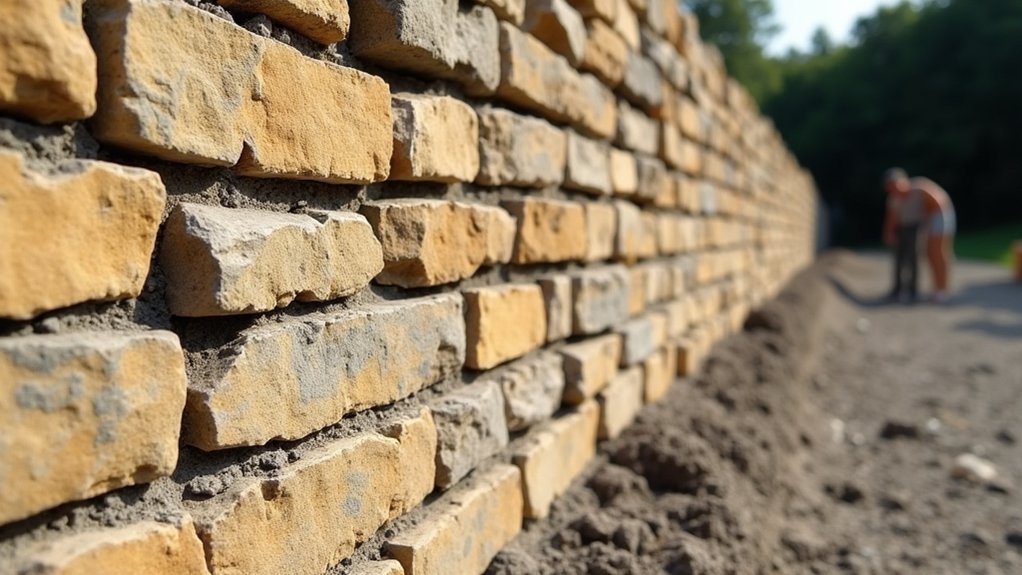
York stone is a durable sandstone recognised for its warm buff-to-grey tones, natural veining and finely textured surface. You’ll find that its dense, fine-grained structure provides good compressive strength while retaining workable cutting and dressing properties.
However, absorption varies between pieces, so you should assess moisture behaviour before installation. The stone’s bedding plane also matters: lay each unit consistently to reduce weakness, delamination and uneven weathering.
Expect colour variation to develop as the surface ages, particularly where exposure, runoff and biological growth differ across a wall. Its historical significance reflects centuries of use in paving, buildings and boundary walls across Yorkshire.
For long-term performance, you should specify compatible mortar, detail drainage and plan stone sealing only after evaluating porosity, appearance and the wall’s exposure conditions.
Choose the Right York Stone
Choosing the right York stone starts with matching the stone’s grade, thickness and finish to the wall’s exposure and construction method.
For external walls, select dense, frost-resistant stone with consistent bedding planes and minimal defects. Check each piece for sound edges, stable colour, and sufficient thickness for your intended coursing.
Choose a weathered finish when you’re repairing an older structure; a freshly sawn or lightly textured finish may suit contemporary work.
For Historical preservation, source reclaimed stone from a reputable supplier and verify its provenance, dimensions, and compatibility with existing masonry.
Sort stones by size before laying, then reserve distinctive pieces for corners, openings, or caps.
Use Artistic patterns sparingly, because excessive contrast can weaken visual coherence.
Confirm the supplier’s samples match the approved specification before ordering.
Plan Wall Width, Foundations, and Drainage
Set the wall width according to its height, intended load, and York stone dimensions.
Design stable foundations on firm, well-compacted ground, allowing sufficient depth and width for the site conditions.
Provide drainage behind the wall, including free-draining aggregate and outlets, so water pressure doesn’t compromise its stability.
Determine Wall Width
Before laying a York stone wall, determine its finished wall width, foundation depth, and drainage requirements together, because each affects the wall’s stability and durability.
For the width, measure the stone units you’ll use, then allow for joints, face alignment, and any cavity or backing specified by the design. A traditional random rubble wall may need greater thickness than a regular coursed wall because irregular stones create variable bearing surfaces.
Confirm the finished dimension against boundary positions, gates, paths, and building regulations before ordering materials.
Weather considerations also matter: exposed sites may require a wider, heavier wall than sheltered locations.
During material sourcing, select stones with consistent thicknesses where possible, and order enough matching material to maintain the planned profile without excessive packing or trimming.
Design Foundations and Drainage
Once you’ve fixed the finished wall width, design the foundation and drainage to support that load and keep water from undermining the York stonework.
Excavate to firm, undisturbed ground, allowing enough depth for local frost conditions and soil type. Provide a concrete or compacted hardcore foundation wider than the wall, typically extending at least 100 mm on each side. Check levels carefully, then build with a slight batter where specified.
Install a free-draining layer behind the wall, using clean graded stone rather than clay-rich fill. Include a perforated drain at the base, wrapped in geotextile, and discharge it safely away from the structure.
Seal or cap the wall to shed rainfall. Account for weather considerations, especially freeze-thaw cycles and intense rain.
Follow maintenance tips: clear outlets, inspect joints, and remove silt annually.
Choose Compatible Mortar for York Stone Walling
Choose a breathable lime mortar so moisture can escape through the joints rather than damaging the York stone.
You’ll need to match the mortar’s strength to the stone and existing masonry, avoiding overly strong cement mixes.
This compatibility helps prevent cracking, spalling, and trapped moisture.
Choose Breathable Mortar
For York stone walling, use a breathable lime-based mortar that lets moisture evaporate through the joints rather than trapping it within the stonework. Choose a mortar suitable for traditional masonry and confirm that its additives won’t stain or seal the York stone. Review the manufacturer’s guidance before mixing, including the required water ratio and curing conditions.
Weather considerations matter: protect fresh joints from heavy rain, frost, direct sun, and drying winds with breathable sheeting. In hot or dry weather, lightly dampen the stonework before pointing, but don’t saturate it. Keep the mix workable without adding excess water, which can weaken adhesion and increase shrinkage.
Your tool selection also affects results; use clean hawks, buckets, and pointing irons to place and compact the mortar accurately, keeping joints fully filled and moisture-permeable.
Match Mortar Strength
Match the mortar’s strength to the York stone and the existing wall, because a mix that’s harder than the masonry can concentrate stress and cause spalling, cracking, or joint failure. Choose a compatible lime mortar rather than defaulting to strong cement mixes.
Assess the stone’s porosity, the wall’s age, and the original joint composition before specifying the mix. Softer, permeable York stone generally needs a mortar that accommodates movement and allows moisture to escape.
Follow the manufacturer’s proportions and use consistent mixing techniques, including accurate measurement, thorough blending, and controlled water addition.
Don’t judge suitability by mortar color alone; match the existing appearance with approved pigments or suitable sand, then test a sample panel.
Allow proper curing, protect fresh joints from frost and rapid drying, and rake defective areas carefully before repointing.
Lay York Stone for Strength and Durability
Lay each York stone on a full, even bed of mortar, pressing it firmly into position to eliminate voids beneath the slab. Check each unit for rocking, then tap it with a rubber mallet until it sits stable and level.
Stagger vertical joints between courses, keeping bond patterns consistent and avoiding continuous weaknesses. Maintain uniform joint widths, fully pack joints with mortar, and strike them before the mortar hardens.
Use stone thicknesses strategically: place heavier, larger pieces at the base and reserve thinner stones for upper courses where loads decrease.
Keep faces clean, but don’t overwork the joints or smear mortar across the surface.
During historical restoration, preserve original coursing and tooling where practical.
Balance structural alignment with aesthetic considerations, selecting matching tones and textures for a cohesive finish.
Check Local Planning Requirements
Before building a York stone wall, check your local planning authority’s requirements for height, location, boundary ownership, listed-building status, and conservation-area controls. You may need planning permission, listed-building consent, or written approval under permitted-development rules.
Don’t assume replacing an existing wall qualifies as maintenance; changes to height, alignment, foundations, or materials can trigger an application. Confirm who owns the boundary and obtain written consent before excavating or tying into adjoining masonry.
Review Historical regulations affecting locally distinctive stonework, coursing, coping, mortar, and traditional construction methods.
Assess Environmental considerations, including protected trees, nesting birds, drainage, root protection zones, and water runoff.
Ask the authority for a formal written response, retain drawings and photographs, and schedule work only after any conditions, notices, or neighbour consultations have been completed.
Conclusion
Before starting York stone walling, you’ll achieve better results by matching the stone, foundation, drainage, mortar, and laying method to the site. For example, if you’re rebuilding a damp boundary wall beside mature trees, you should use durable, well-drained stonework, a compatible breathable mortar, and foundations that avoid root damage. You’ll also need to confirm planning requirements, particularly in conservation areas. Careful preparation protects the wall’s structure, appearance, and long-term performance.