

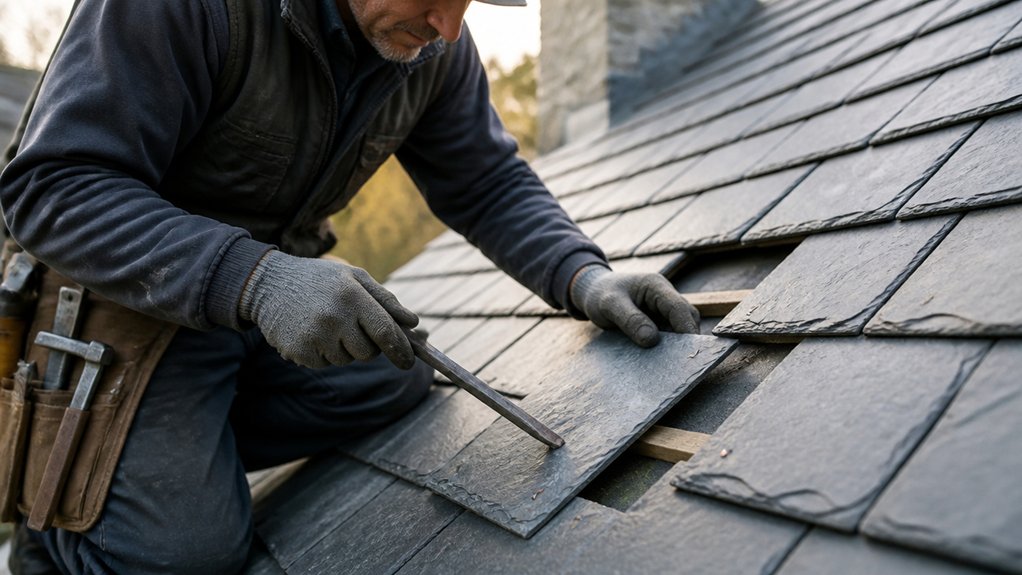
It’s often just one cracked slate that draws your attention, yet that small coincidence can reveal a local leak before wider damage develops. You can replace the tile without stripping an entire roof section, provided you work in dry, calm conditions and match the slate carefully. With a slate ripper, suitable fixings and proper protection for nearby tiles, you can tackle the repair methodically—but knowing when the roof is unsafe remains essential.
Assess Safety and Match the Replacement Slate
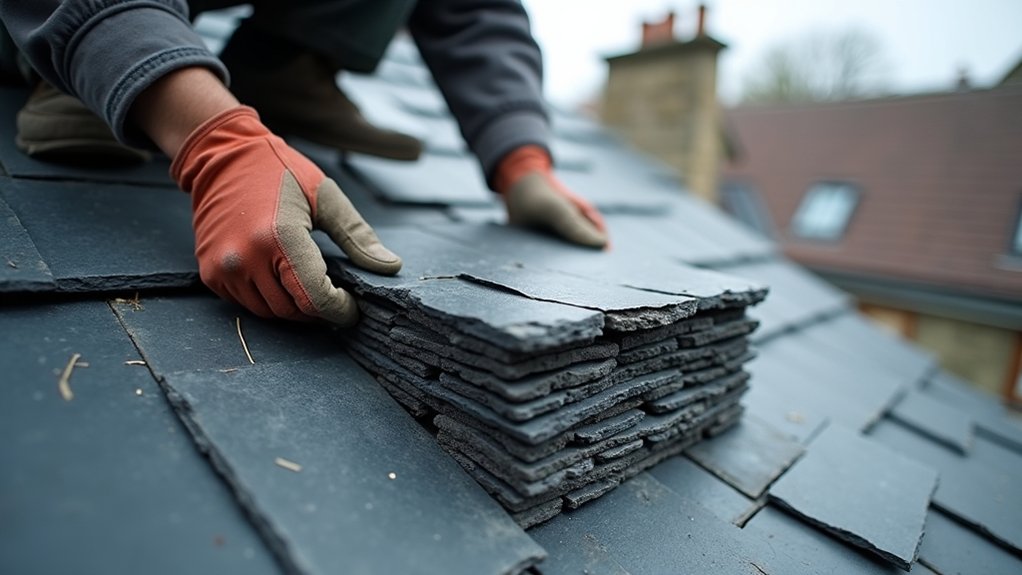
Before you begin, assess the roof for safe access, checking the weather, pitch and condition of the roof covering, and use suitable access equipment rather than walking directly on fragile slates.
Follow sensible Safety precautions: keep clear of overhead cables, secure ladders properly, and use a roof ladder or scaffold tower where appropriate.
Don’t work in rain, frost or strong winds, and stop if the roof structure appears unsound.
From a safe position, identify the damaged slate and check how it’s fixed. Measure its length, width and thickness, then examine the exposed edge or underside for the correct profile.
Match the replacement’s slate color, texture and surface weathering as closely as possible. Natural slate varies, so take a sound sample to a reputable roofing merchant before buying.
Don’t substitute lightweight fibre-cement slate without checking compatibility.
Gather Tools and Protect Nearby Tiles
Gather the tools before disturbing the slate: you’ll need a slate ripper or nail puller, a slate hammer, a sharp bolster or hacksaw blade, copper or stainless-steel fixing nails, and a slate hook or copper wire. Add a stable ladder, roof ladder, gloves, eye protection, and a tool belt so nothing falls.
For Material selection, confirm replacement fixings suit the existing roof and won’t react with its slate or flashings.
Cover the surrounding tiles with a plywood sheet or thick blanket, supporting it without placing concentrated weight on fragile slates. Keep gutters clear of loose tools and debris.
Check Weather considerations before climbing: choose a dry, calm day, avoid frost or wet surfaces, and postpone work during strong winds.
Tell someone where you’re working and secure the ladder properly.
Remove the Broken Slate Without Damage
Once the surrounding slates are protected, locate the broken slate’s fixings and work from a secure roof ladder. Wear gloves, non-slip footwear, and eye protection, and don’t work in wet or windy conditions.
Slide a slate ripper beneath the damaged tile to hook and cut its fixing nails. Apply controlled pressure; forcing the tool can crack neighbouring slates or damage the underlay. If the slate has split, remove loose pieces by hand only after releasing the fastenings.
Lower every fragment safely rather than dropping it. Clear remaining nail points carefully, keeping the battens intact.
Inspect the opening and surrounding slates for hidden damage, then brush away dust and debris. Note the old slate’s thickness, texture, and colour for accurate color matching.
Ignore adhesive options for now; don’t glue anything during removal.
Install and Fasten the Replacement Slate
With the opening clean and the replacement slate matched for size, thickness, and colour, slide it carefully into position beneath the overlapping course above.
Keep its lower edge aligned with neighbouring slates, checking the bond and exposure from ground level.
Don’t force the tile; ease it into place with a slate ripper or slate hammer if resistance occurs.
Use copper or stainless-steel slate hooks where appropriate, positioning the hook to support the lower edge without showing excessively.
Alternatively, drive two corrosion-resistant copper nails through the existing nail holes, tapping gently to avoid cracking the slate.
Your fastening techniques should hold the tile securely while allowing slight movement.
Cover each nail head with a compatible roofing sealant only if the system requires it.
Confirm the slate lies flat and sheds water freely.
Recognize When to Call a Slate Roofer
If the slate is difficult to access, the roof structure feels unstable, or several tiles are damaged, call a qualified slate roofer rather than continuing yourself. Working at height demands proper access equipment, training, and a safe method, not just a ladder and confidence.
Also stop and seek help if battens, rafters, flashing, or underlay appear damaged. Experienced roofers can match existing roofing materials, remove slates without disturbing sound courses, and identify hidden moisture or structural problems.
Don’t attempt repairs in wind, rain, or frost, when slate and access equipment become hazardous.
Check your policy before work begins. Insurers may require photographs, an approved contractor, or a written assessment for insurance claims. Keep damaged slates and receipts, and ask the roofer to document the repair.
Professional advice can prevent further damage and costly reworking.
Conclusion
Replacing a damaged slate tile doesn’t require dismantling whole roof sections, but every step matters. Once you’ve assessed the weather, matched the slate, protected neighbouring tiles, and removed the break carefully, slide the replacement into place and fasten it securely. Check the overlap and water run-off before climbing down—one hidden gap can undo your work during the next storm. If access feels unsafe, damage spreads, or the slate won’t sit flat, call a qualified slate roofer.