

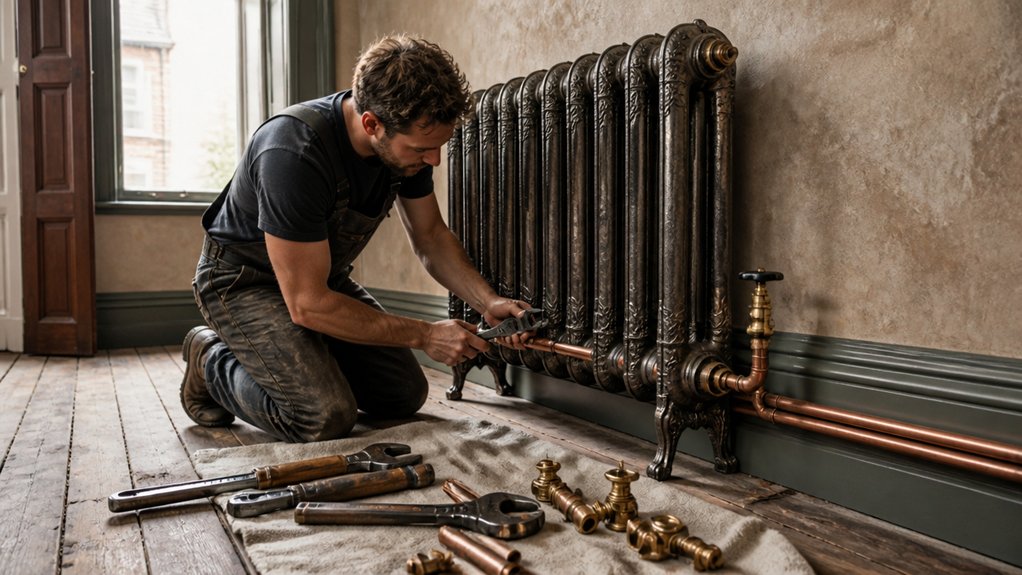
Installing a cast-iron radiator in a period property takes more than choosing an attractive design. You’ll need to match heat output, pipe connections, wall construction and floor strength while protecting historic features. Plan each stage carefully, from selecting the radiator and preparing the mounting points to connecting, bleeding and testing the system. Small errors can cause leaks, uneven heating or damage to original fabric, so begin by checking what lies behind the finished surfaces.
Choose the Right Cast-Iron Radiator
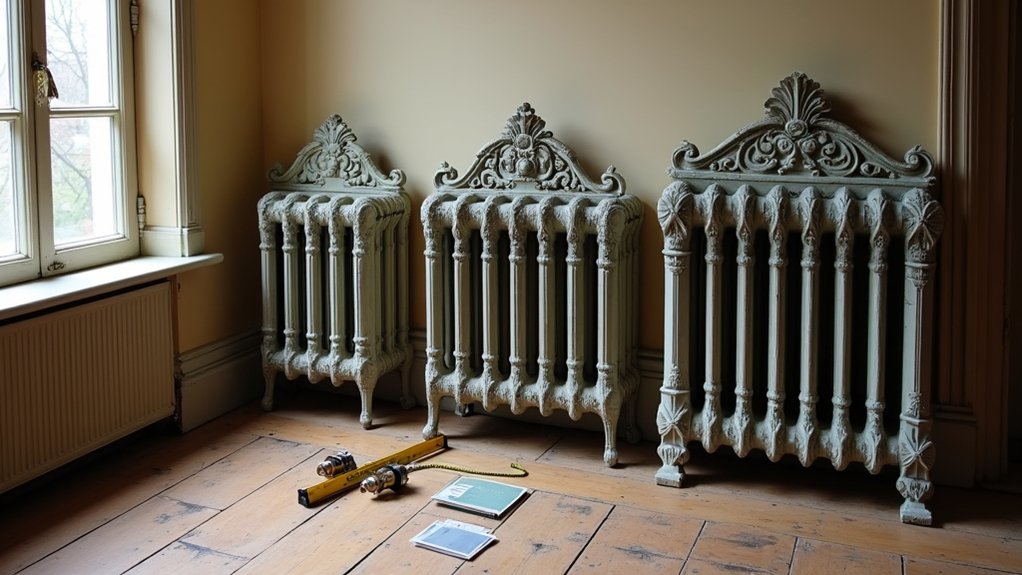
Choose a radiator that matches your room’s heating demand, available wall space, and existing pipework. Calculate the required heat output in British thermal units (BTUs) or watts, allowing for ceiling height, window area, insulation, and external walls.
Select a model with sufficient sections without overcrowding the room or compromising circulation.
Consider the radiator’s height, width, depth, and connection positions before ordering. Your Design options include traditional column, ornate Rococo, and simpler Victorian profiles, with single-, double-, or triple-column configurations.
Match the finish to your interior: painted enamel suits most rooms, while polished metal creates a stronger statement.
For heritage work, prioritise historical accuracy by comparing the radiator’s proportions, detailing, and period profile with the property’s architecture.
Choose a reputable manufacturer, confirm pressure ratings, and verify that valves and accessories complement the selected design.
Check Your Walls, Floors and Pipework
Before installation, inspect the wall, floor, and existing pipework to confirm they can support the radiator’s weight and connections.
Locate sound masonry or timber studs for the brackets, avoiding fragile plaster, lath, and decorative mouldings.
If the wall needs repair, complete it carefully and allow materials to cure.
Include Wallpaper preparation in your plans: protect historic coverings, match existing finishes, and avoid unnecessary removal.
Check floorboards, joists, and bearers for deflection, especially where the radiator will stand close to a wall.
Add Floor reinforcement if the structure feels springy or shows damage, using methods appropriate to the property’s age.
Trace supply and return pipes, noting their size, route, condition, and material.
Look for corrosion, leaks, or incompatible alterations, then have a qualified heating professional assess any defects before proceeding.
Install and Connect Your Cast-Iron Radiator
Once the wall, floor, and pipework are ready, position the cast-iron radiator with help—it’s extremely heavy and can damage finishes if dropped. Confirm the radiator placement against your measurements, allowing clearance for skirting boards, valves, curtains, and airflow. Mark the fixing points through the manufacturer’s brackets, then secure them into sound masonry or suitable floor supports; don’t rely on brittle plaster or historic lath alone.
Use packers where necessary to keep the radiator level without stressing its sections. Protect decorative finishes with padded supports during handling, and avoid dragging the radiator across original flooring.
Fit the valves and tailpieces using compatible adapters, hemp and jointing compound, or approved thread sealant. Connect the flow and return pipes without forcing misaligned threads. Tighten fittings firmly, but don’t overtighten cast iron or brass components.
Bleed, Test and Troubleshoot the Radiator
With the radiator securely mounted and all connections tight, refill the system slowly and check every joint for leaks as pressure rises. Keep an eye on radiator pressure, following your boiler manufacturer’s figures rather than guessing.
Once the system reaches operating temperature, switch it off and let the cast iron cool slightly. Place a cloth and container beneath each bleed valve, then open it gently with a key until trapped air escapes. Close the valve when water flows steadily; don’t overtighten it.
Recheck pressure and top up if necessary. Heat the radiator again, confirming it warms evenly from top to bottom and that valves operate smoothly. If the top remains cold, bleed it again.
A persistent leak, noisy pipe, or pressure loss needs professional attention, especially in a listed property.
Conclusion
With your cast-iron radiator installed, you’ve preserved period character while improving everyday comfort. Take time to check every joint, balance the system, and confirm the radiator heats evenly from top to bottom. One homeowner found a cool upper section disappeared after a careful bleed—proof that small adjustments can revive substantial ironwork. Treat the radiator like part of the building’s history: maintain it, protect surrounding finishes, and call a qualified heating professional when pipework or pressure problems exceed your experience.