


Installing traditional quarry tiles in a UK home starts with more than choosing a colour. You’ll need to match tile density, abrasion resistance and texture to each room’s traffic and moisture levels, then prepare a sound, level subfloor. Careful setting-out, suitable adhesive, accurate cuts and proper sealing will determine whether the finished floor lasts. Before you begin, check the substrate and layout, because one overlooked detail can affect every stage that follows.
Choose Quarry Tiles for Room, Wear and Moisture
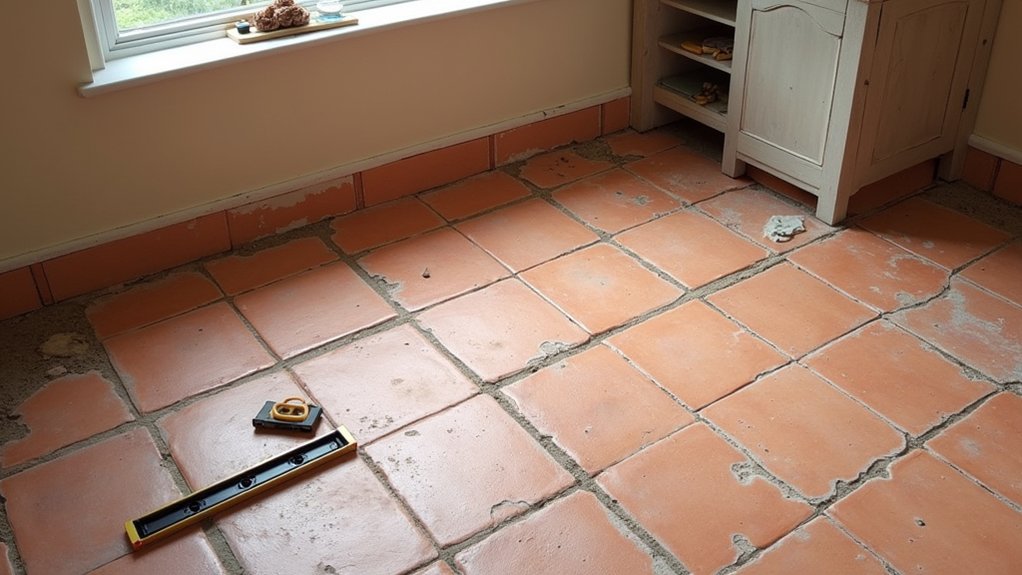
Before you choose a colour or format, match the quarry tile to the room’s conditions. For a busy kitchen, entrance hall, utility room or boot room, select a dense, through-bodied tile with a suitable abrasion rating. Its low porosity helps resist everyday spills, but you’ll still need prompt cleaning and a compatible sealer.
In bathrooms, use quarry tiles only where the manufacturer confirms suitability; choose textured surfaces for safer wet-foot traction, while avoiding excessively uneven finishes that trap grime. Consider underfloor heating compatibility if relevant to the room.
Tile color affects practicality: mid-tones disguise soil better than very pale or uniformly dark shades. Review pattern options, including traditional checkerboards, borders and running bonds, to suit your home’s period character.
Don’t use external-grade assumptions indoors; always follow the UK supplier’s technical data and installation guidance.
Check the Subfloor and Plan Your Layout
Start by checking that the subfloor is sound, dry, clean and sufficiently level for quarry tiles. Your subfloor preparation depends on its construction. Repair cracks in concrete, remove dust and check moisture, particularly on ground floors in older UK homes.
Replace loose floorboards, secure movement and overlay timber with an approved, rigid tile backer system where necessary. Don’t tile over damp, unstable or contaminated surfaces.
Use a straightedge to identify hollows and high spots, then correct them with a compatible levelling product, following its manufacturer’s instructions. Allow repairs to dry fully.
For layout planning, measure the room and mark centre lines from the main visual axis, not necessarily the doorway. Dry-lay tiles to check proportions, keeping perimeter cuts balanced and at least half a tile where possible. Include thresholds and movement joints in your plan.
Install Quarry Tiles With Suitable Adhesive
Once the subfloor is prepared and your layout is marked, choose an adhesive rated for quarry tiles and the specific substrate. Your adhesive selection should match the surface: use a flexible cement-based adhesive for timber or areas subject to movement, and a suitable standard adhesive for stable concrete or screed.
In UK homes, check the product’s classification and follow its coverage, mixing, and open-time instructions. Mix only what you can use before it skins over.
Comb the adhesive across a manageable section with the recommended notched trowel, keeping the bed even. Press each tile firmly into place with a slight twist, maintaining your planned joints. Check levels regularly and lift tiles occasionally to confirm full coverage.
Complete tile cutting before spreading adhesive, using suitable wet-cutting equipment and protective gear.
Grout, Seal and Maintain Quarry Tiles
After the adhesive has cured fully, grout the joints with a cement-based grout suitable for quarry tiles and the expected moisture and traffic levels. Choose a colour that complements your colour coordination scheme and tile patterns, checking the manufacturer’s guidance for staining risks. Work the grout firmly into each joint, then remove residue with a barely damp sponge before it hardens.
Don’t flood the surface, as porous quarry tiles can absorb dirty water. Once the grout has cured, apply a breathable, penetrating sealer recommended for unglazed quarry tiles. Test it first in an inconspicuous area, and follow the product’s drying and recoat times.
Sweep or vacuum regularly, mop with pH-neutral cleaner, and wipe spills promptly. Avoid bleach, acidic cleaners, abrasive pads, and steam mops. Reapply sealer when water no longer beads on the surface.
Conclusion
With careful choices and consistent preparation, you’ll create a durable quarry-tiled finish suited to UK homes. Select tiles for each room’s wear and moisture, check the subfloor, and plan your pattern before fixing. Apply the correct adhesive, cut cleanly, and grout every joint securely. Finally, seal porous surfaces and maintain them with gentle, regular cleaning. Follow these practical steps, and your traditional tiles will stay sturdy, smart and serviceable for years.